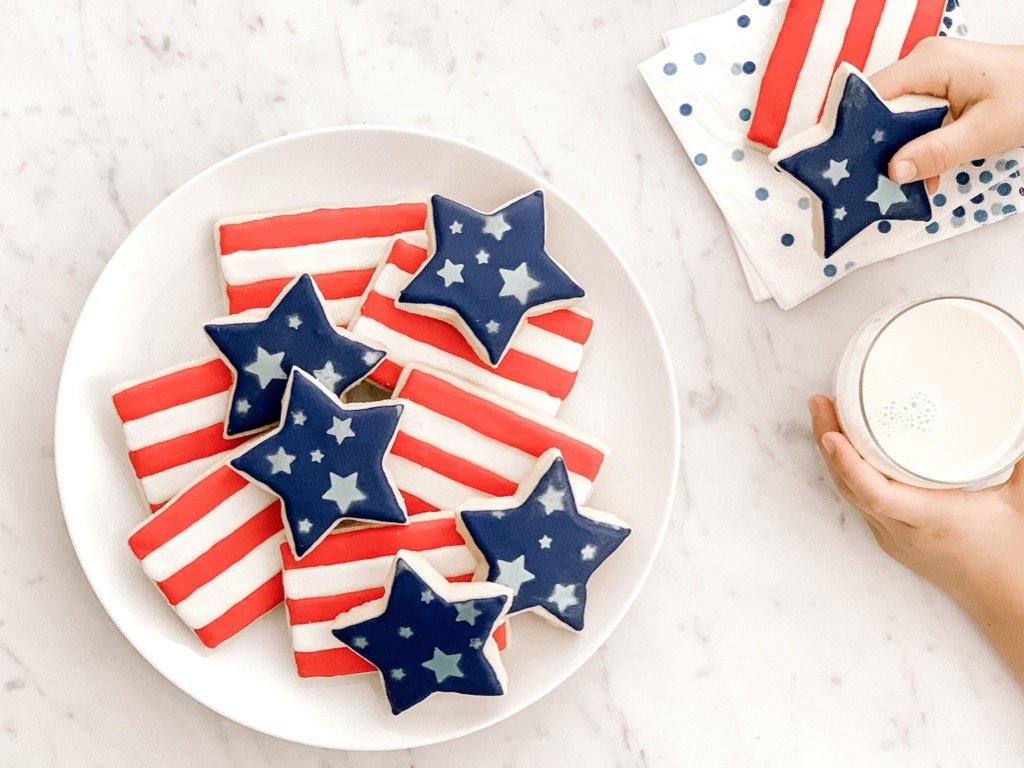


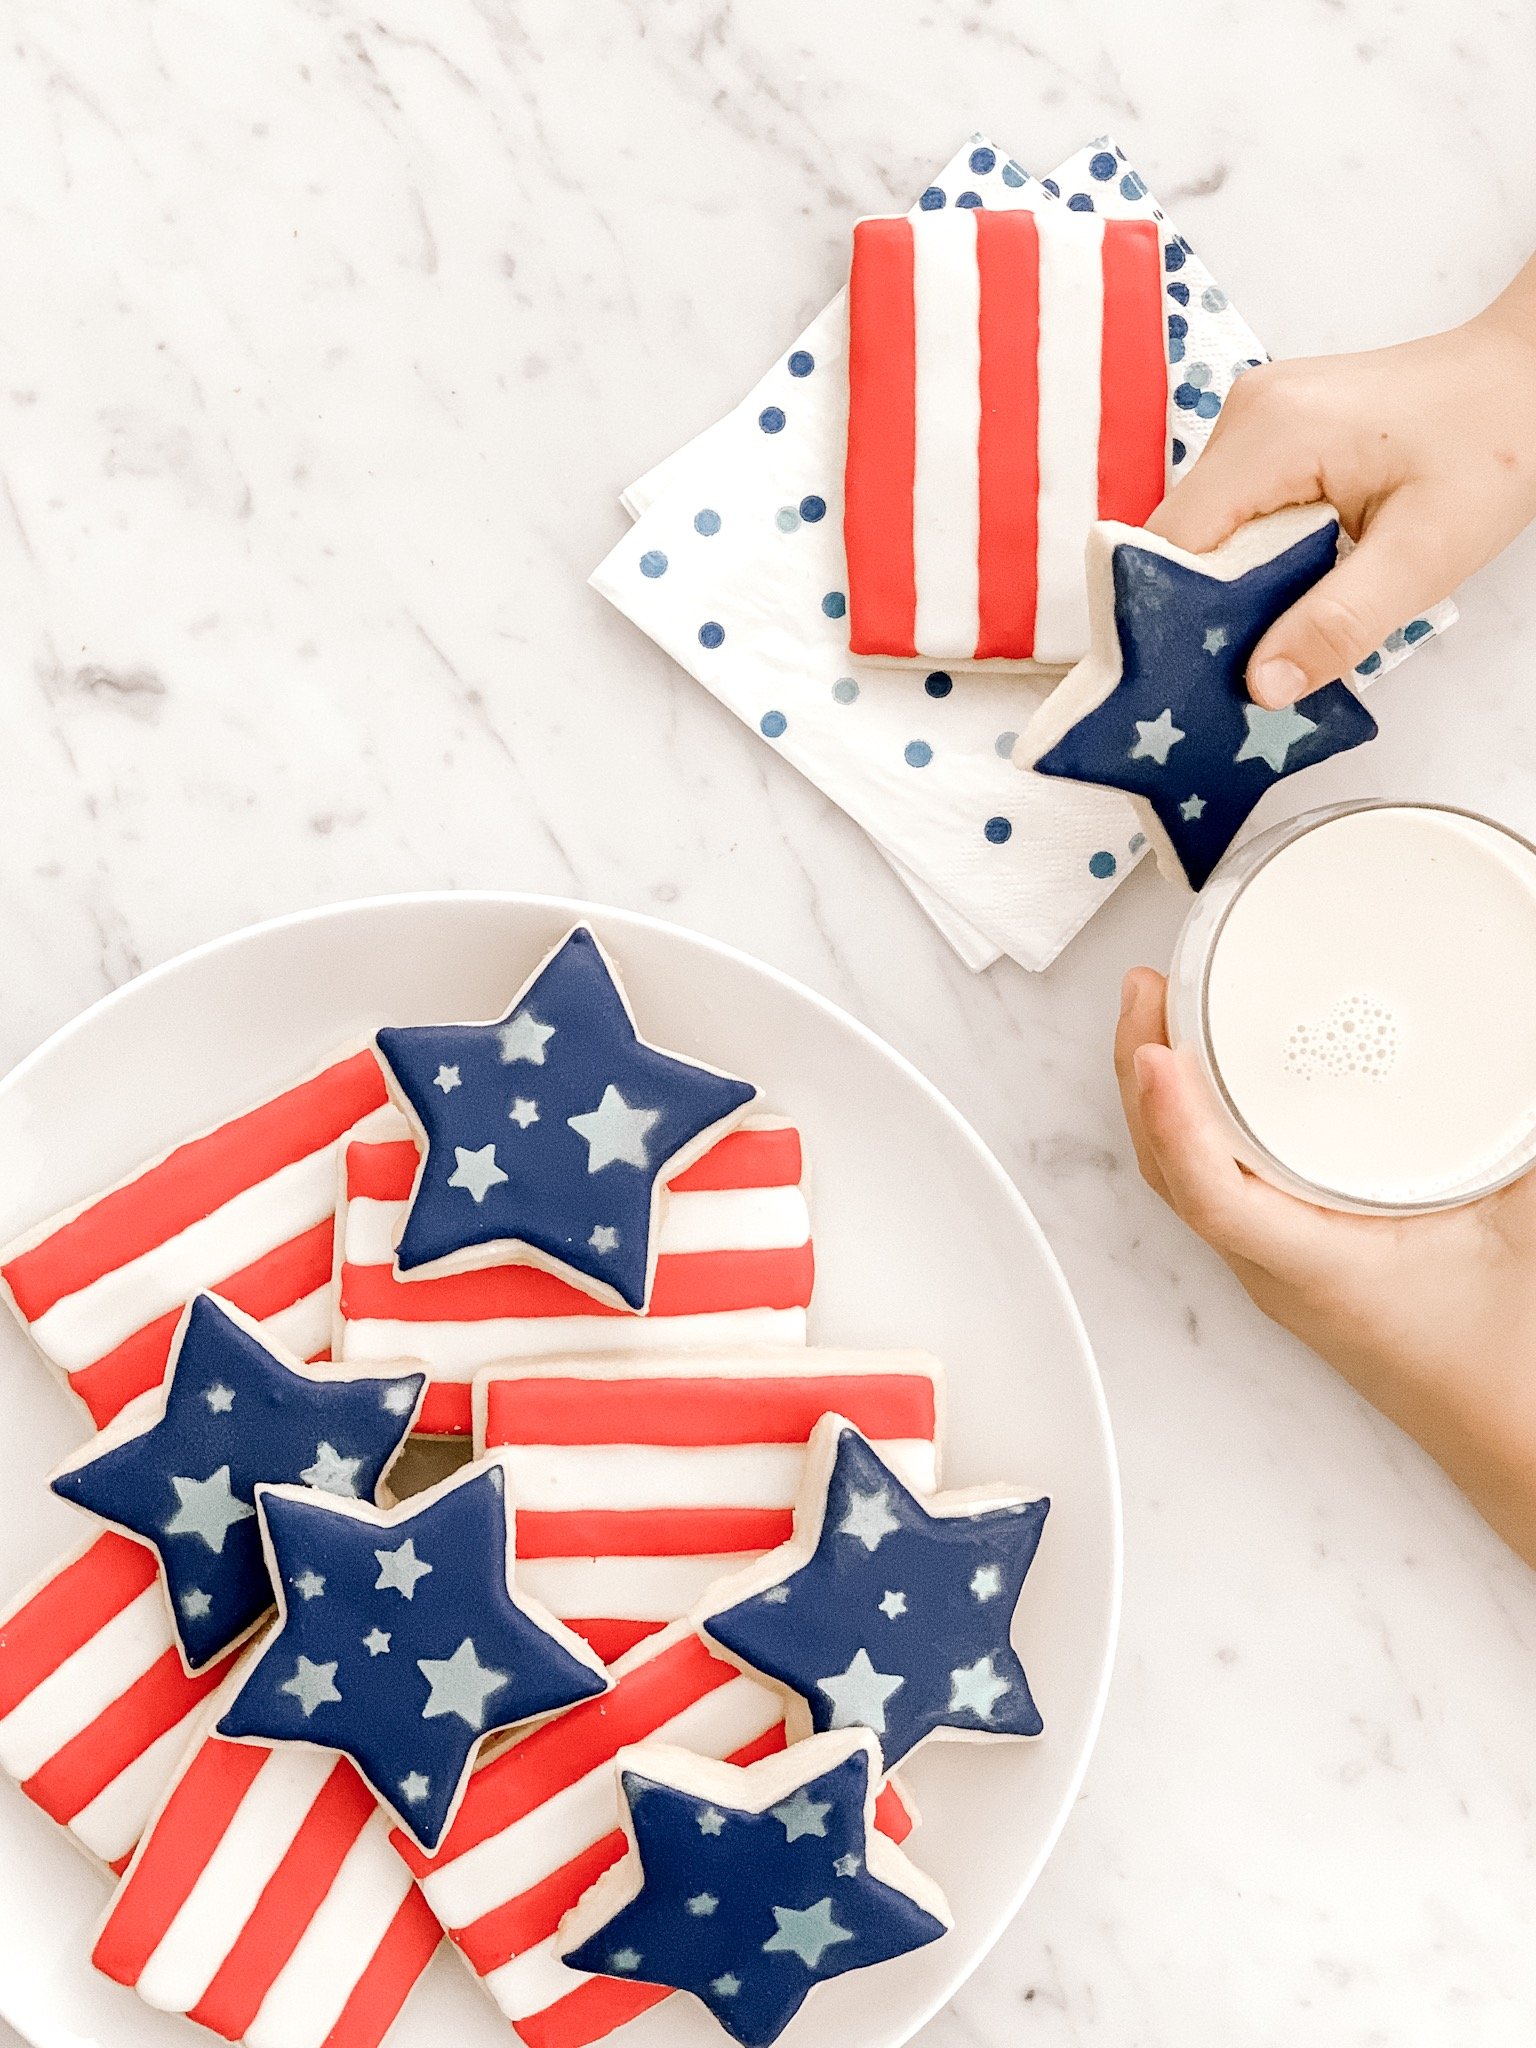
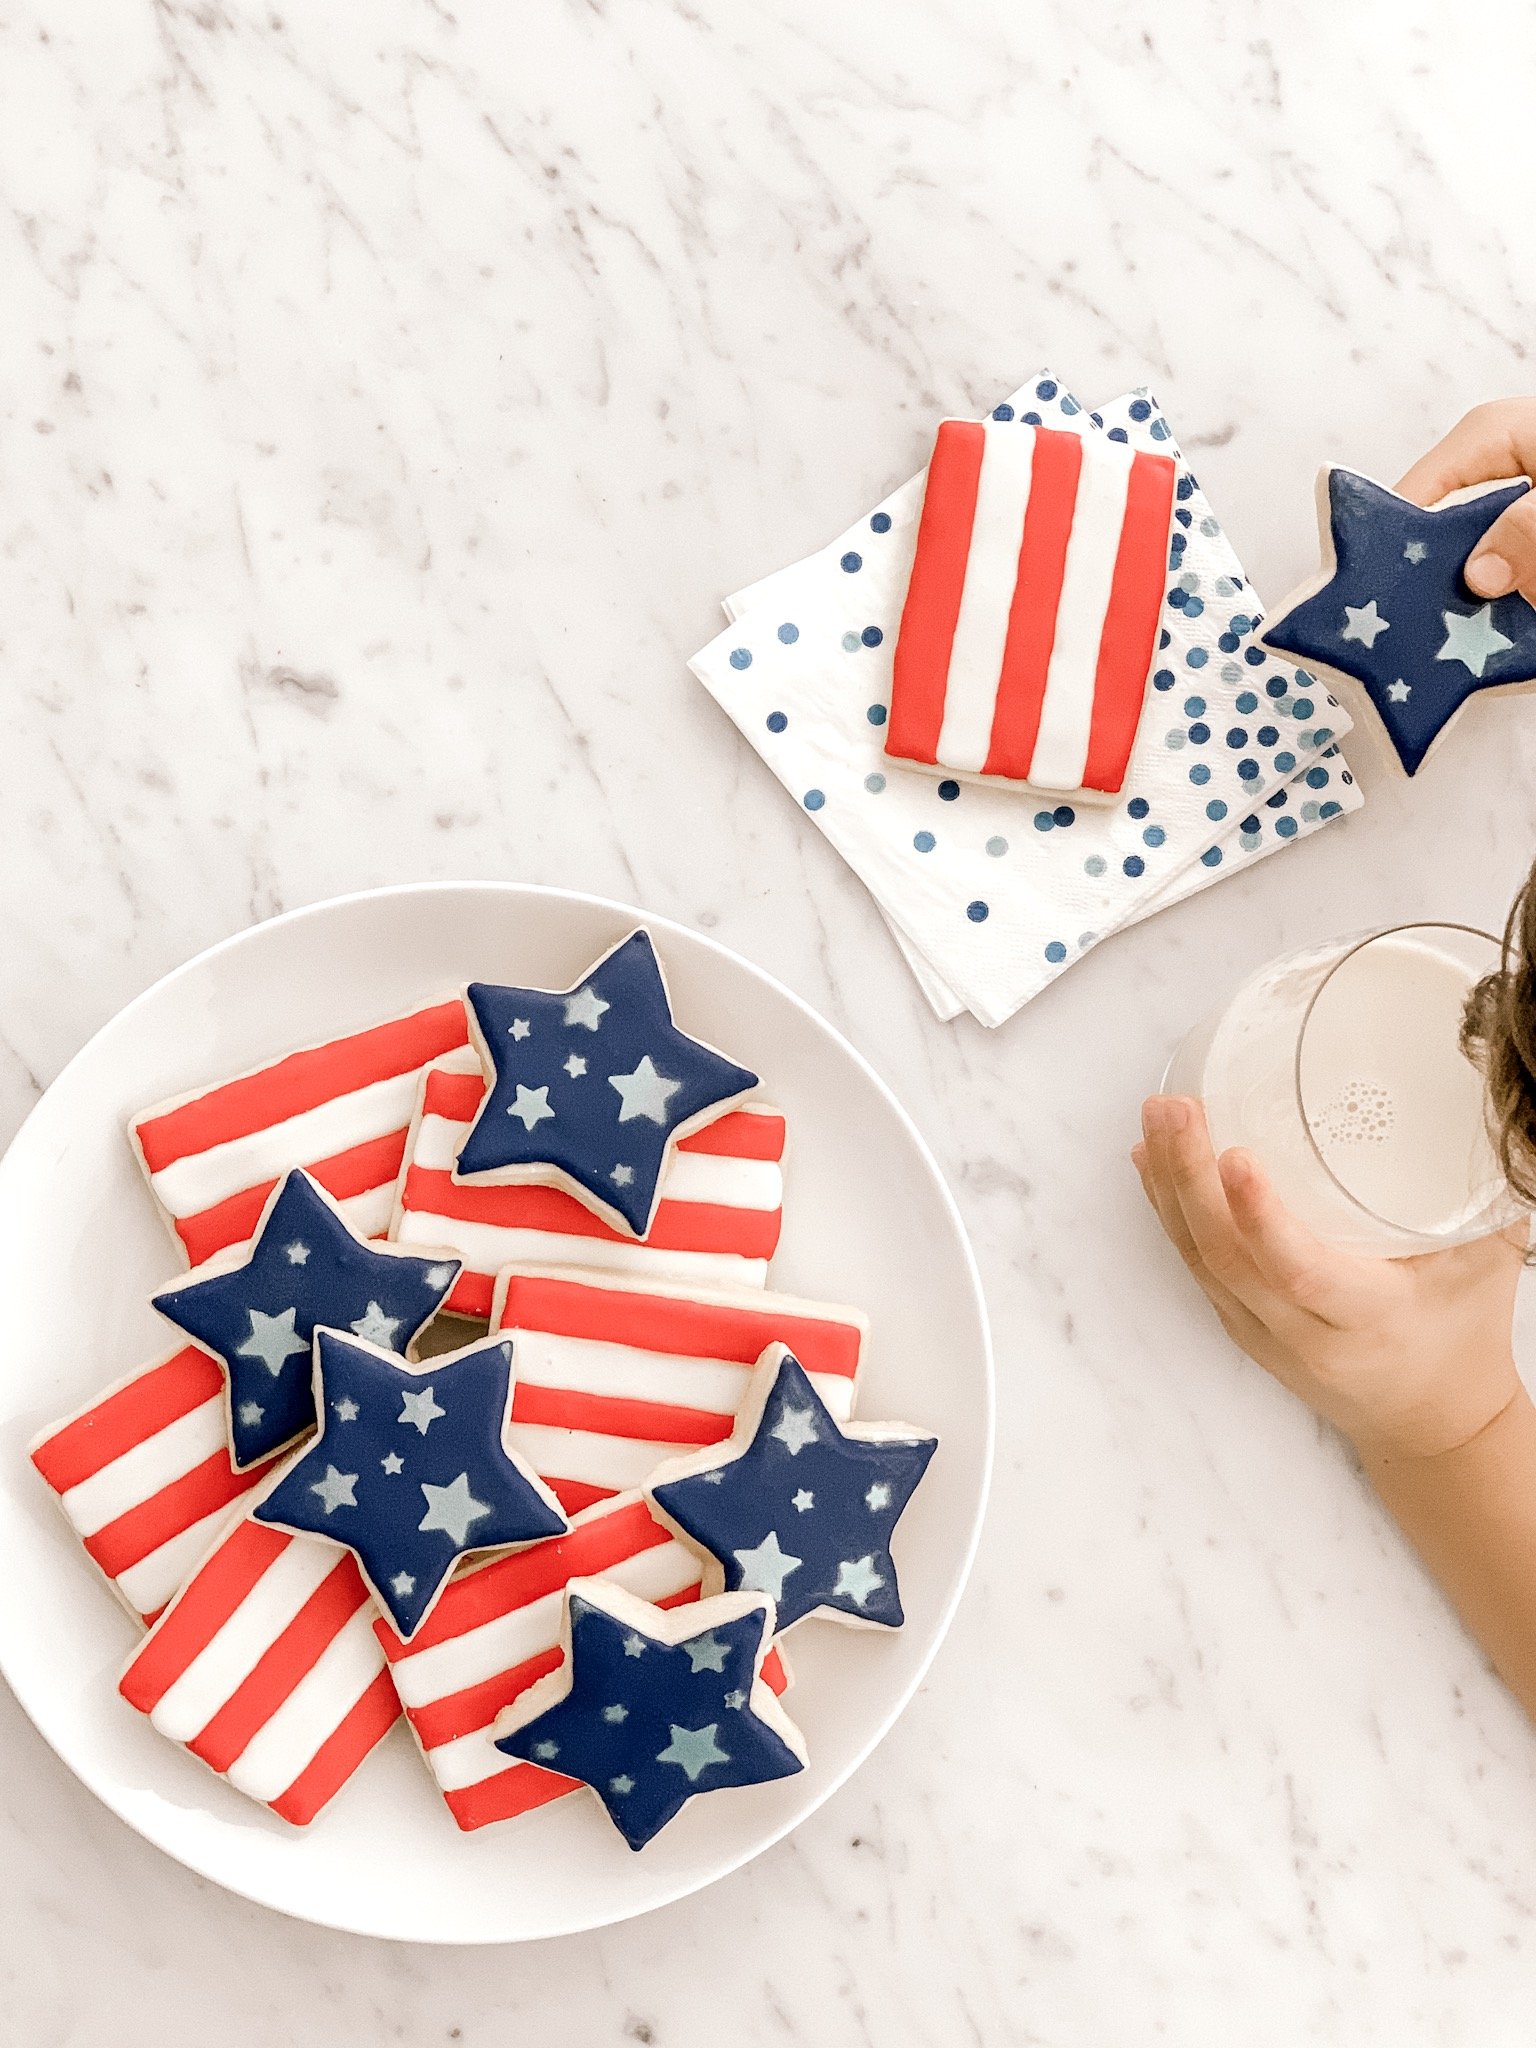
How could you NOT feel festive eating one of these at a summer BBQ?!?! These flag inspired cookies were simple to create and my little one LOVED them and is currently devouring them as we speak. I legit need to hide the rest so we have some left for the 4th!
One “host” tip – these can be made in advance. I wrap all my cookies in metal tins lined with tin foil and then wax paper The cookies will stay fresh for WEEKS wrapped like this. Trust me…I’ve experiented with Christmas cookies a lot. PS – you can totally keep a few Christmas cookie tins out in your kitchen to use throughout the year for storage. I swear they are the best.
Recipes
Click HERE for the Better Homes & Gardens recipe that I follow to make my sugar cookie. This recipe is technically for a shaped cookie but I refrigerate and roll the dough instead. I just love the flavor of this cookie because it’s not overly sweet so I find it balances out the sweetness of the royal icing nicely.
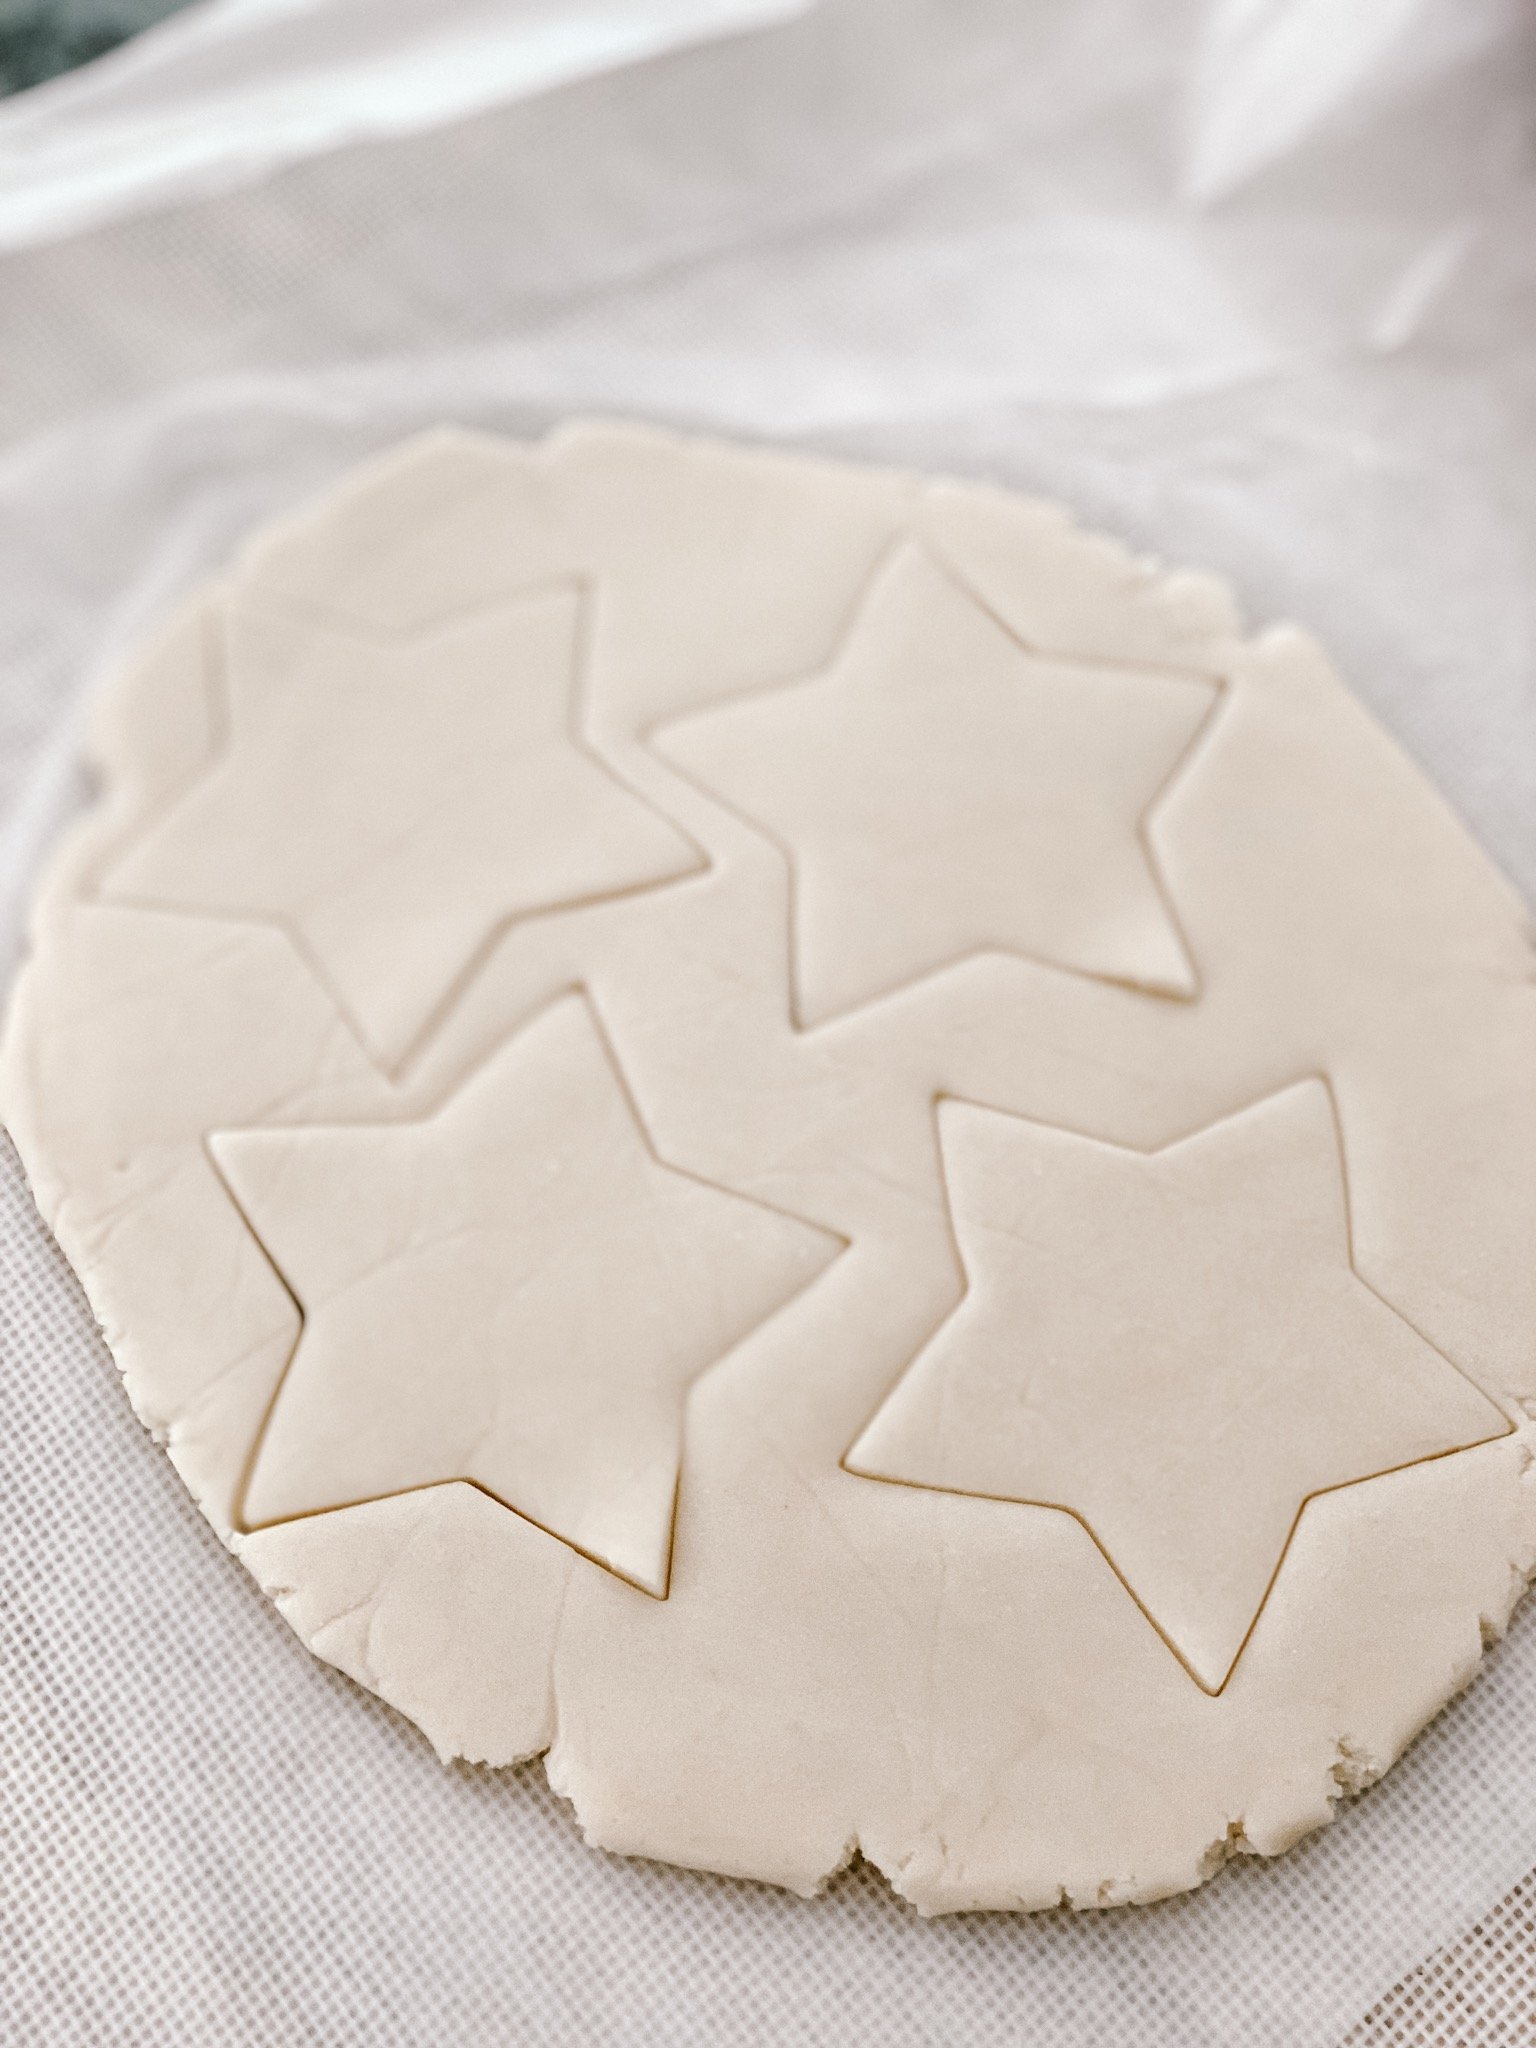
I follow the mixing instructions of the recipe, refrigerate for 1hr, then roll the dough between two pieces of wax paper. Once it’s about 1/4” thick, I use my cookie cutter and place on a baking sheet. You know the cookie is done when it’s just barely golden. Don’t let the edges get brown.
For the royal icing, HERE is the recipe I’m currently following from Sweet SugarBelle and had great success with last month!
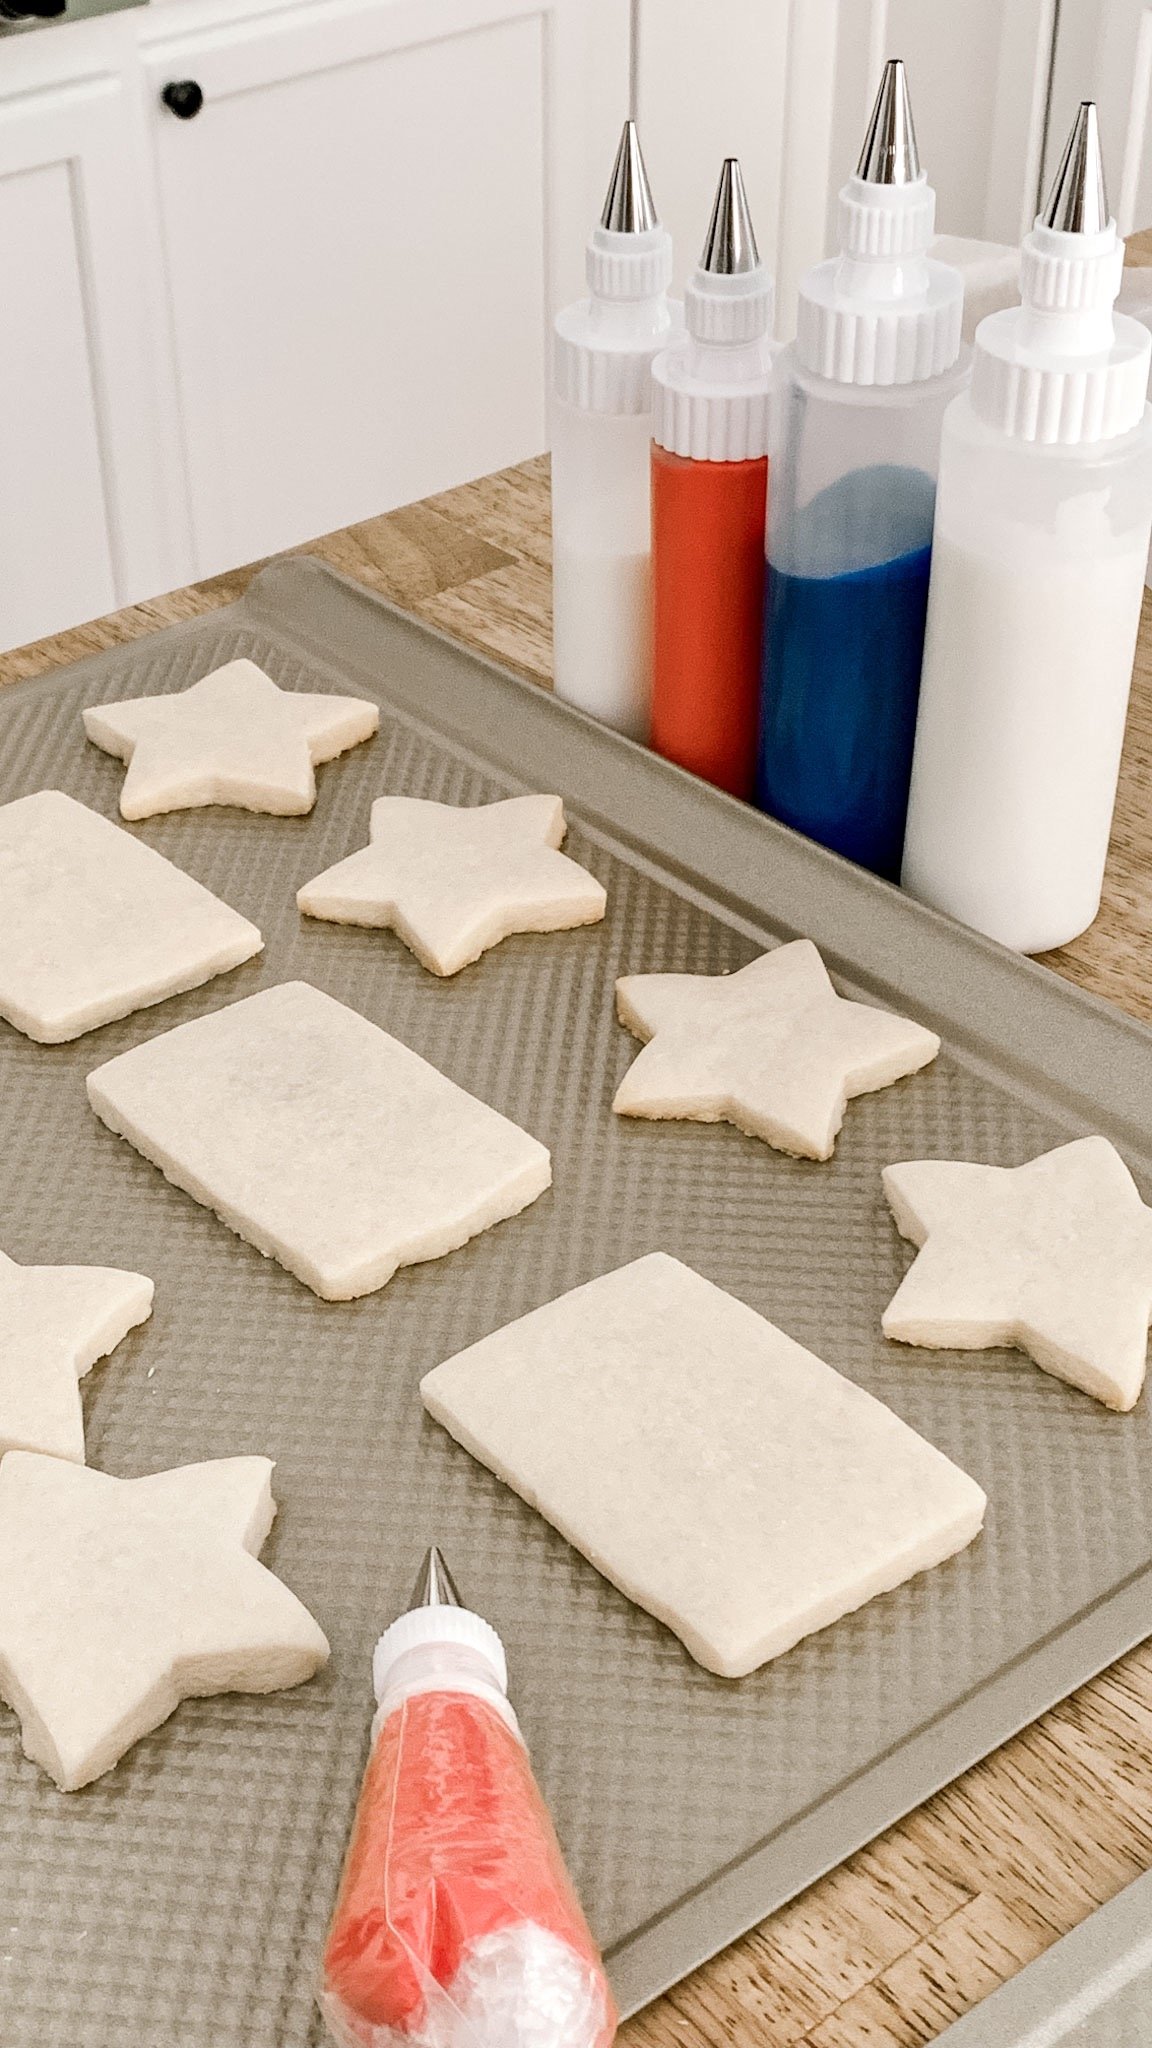

I am such a visual learner. I hope my speedy videos will help you re-create these cookies. Here are a few tips I wanted to add to supplement the video tutorial.
1. Use a FAN!!! On a slow speed set a fan a few feet away from the cookies. This will help the red stripes dry more quickly so you can add the white stripes. You NEED to let the red cure for a bit before adding the white so the colors don’t bleed together.
2. A FAN in general will help the cookies dry to more of a shine vs. the matte finish. I’ll probably do this in the future for all bakes.
3. Spraying the stars – first be sure the blue royal icing has set. I like to use foam board. You will see in the video that I cut the board in half, then cut a smaller spot just larger than the cookie. I layer the two boards, insert the cookie, lay the stencil and then spray. Creating a flat surface for the stencil helps create a more uniform look.
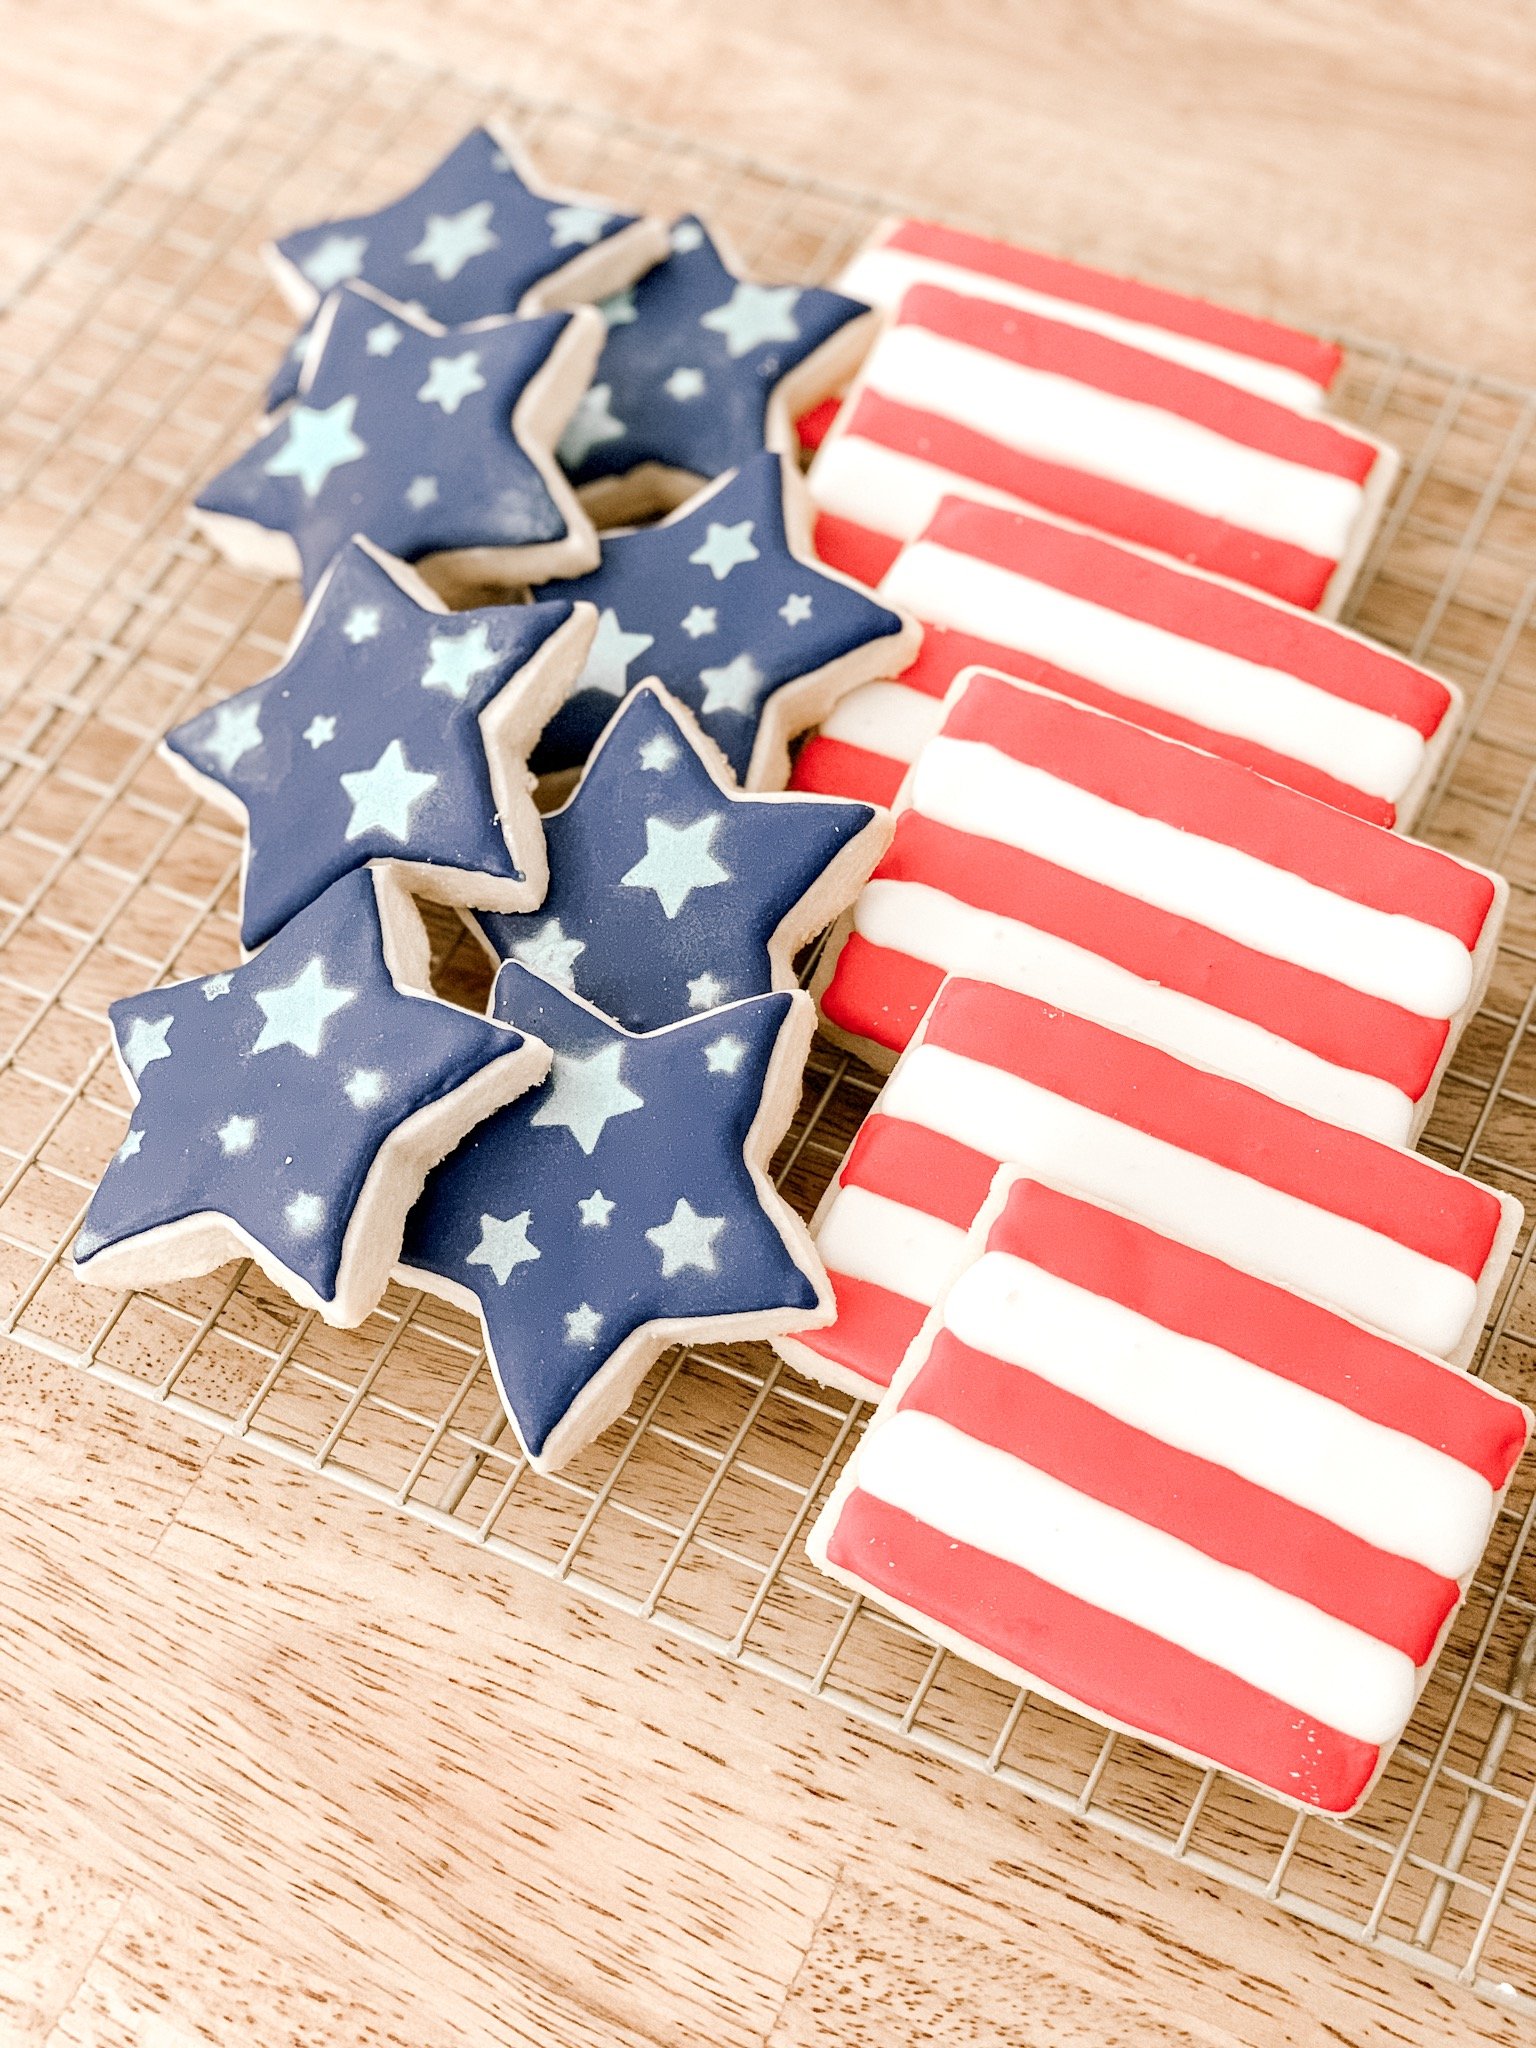
4. Cookie size – I linked the cutters I used below. In particular, I used the largest rectangle and the 2nd to largest star.
Shop all my baking favorites below plus the supplies you will need for this bake.

More important items to create this cookie:
Be sure to share any baking creations with me on Instagram using #bakingwithjaclynjames.
Happy Baking! Can’t wait to see what you create 🙂

xoxo
PS – for additionl details on my baking adventures be sure to check out these earlier posts which also contain video tutorials.